by
by There are several situations where you might need to take a screenshot on windows 11, 10, 8, 7 and XP. You might need to capture it to demonstrate how to utilize an app’s or website’s interface to someone else.
Perhaps to illustrate your point, you might take a screenshot of an article’s snippet and post it to social media with the pertinent portions highlighted. A photograph might also be present online or in one of the programs you cannot save in any other way.
Whatever the reason, there are several alternative methods in Windows 11 for taking screenshots. The technique you choose should be based on what you need to capture, as some methods give you the ability to capture the entire screen, some only a region, and still, others give you the option to save the image instantly to disc or to delay storing it for a few seconds.
We’ll go through six methods for taking screenshots in Windows 11/10 below, mostly utilizing the built-in features of the operating system. Our last technique, however, makes use of NGWIN’s PicPick, a freemium application that has an integrated image editor and the ability to scroll down a full web page to combine it into a single screenshot, something the OS is unable to achieve on its own.
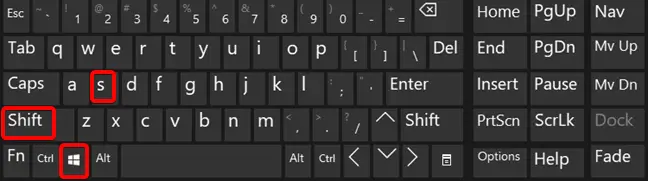
1. Use Shift + Windows Key + S and Snip & Sketch
This has replaced Snagit as my go-to screenshot technique after years of using it (see below): You can choose the complete screen, a rectangle selection, a freehand selection, or a specific application window by pressing the keyboard shortcut Shift+Windows Key+S. The Screen Snip button located in the Action Center can also be used to launch Snip & Sketch.
 After executing this keyboard shortcut, a brief notification with the words “Snip Saved to Clipboard” appears in the lower right corner of the thumbnail panel. To access the Snip & Sketch window, tap here. With this, you can mark the image with a pen, pencil, highlighter, ruler, and other tools.
The image can then be shared via the regular Windows Share menu or saved to a folder of your choice. This enables you to transmit it to any app that accepts the file type, including Instagram, Messenger, Mail, and others. You can also send it to a nearby PC with Nearby Sharing activated.
Text overlay and fundamental shapes, such as the always-useful arrow, are two features I wish Snip & Sketch had. You can select Utilize the PrtSc Button to Open Screen Snipping under Ease of Access > Keyboard in the Windows Settings app if you only want to use this tool. It should be noted that Windows must be restarted.
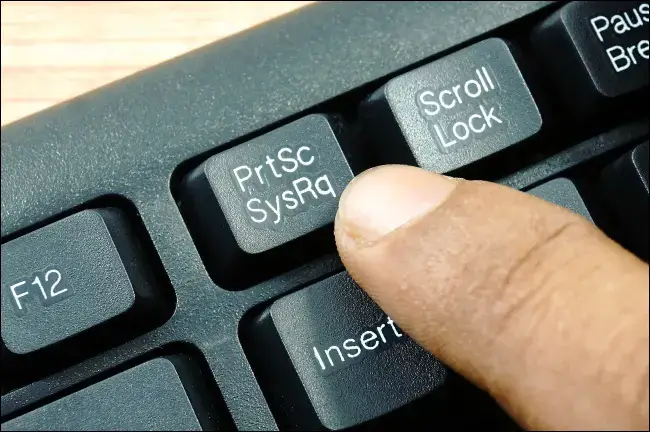
2. PrtSc Key Captures Screenshots to Your Clipboard
Simply pressing the PrtSc key will copy your full desktop to your clipboard and capture a screenshot of it on Windows 11, 10 and Windows 7 too. The PrtSc technique is simple yet a little awkward.
 If you have many displays, you can collect all the desktops in one large image, but you’ll still need to paste it into an image editor like Microsoft Paint, Gimp, or Photoshop if you want to save the image as a file.
If you want to display your complete screen, you may simply paste the image by pressing CTRL + V into the appropriate editor, whether you’re just emailing it, adding it in a document, or sharing it to Twitter or Facebook.
3. Use the Windows Game Bar
The Game bar, which contains a webcam-like symbol, is accessible by pressing the Windows Key + G. To access the Capture section, which features a camera symbol, tap this. Your screenshot will be saved to the Videos/Captures folder within your main user folder by clicking.
4. Use Windows Key + Print Screen Shortcut
The Print Screen key in Windows 10 is the most convenient way to capture a snapshot of a computer or laptop (Prtscn). This button is typically found next to the Function (F#) keys on the top row of the keyboard.
Tap the Windows key + Print Screen key to take a screenshot of your complete screen and have it saved instantly. The screenshot will be saved to the Pictures > Screenshots folder once your screen briefly dims to signal that you’ve just taken a screenshot. Let’s take a closer look at this below:
- Press PrtScn on the upper-right side of your keyboard to make the exact screen you want to print an active window
- You can take the PC screenshot through the keyboard, using the Prt Sc button/or Print Sc buttons. Hit the PrtScn button/ or Print Scrn button to take a full computer screen. The screenshot will be automatically saved to your Clipboard.
- To save the file, paste the screenshot into any program that allows you to insert images, like Microsoft Word or Microsoft Paint.
- Or, To capture your entire screen and automatically save the screenshot, tap the Windows key + Print Screen key [windows key print screen]. Your screen will briefly go dim to indicate that you’ve just taken a screenshot.
- The screenshot will be automatically saved to the Pictures > Screenshots folder.
5. Use Another Third-Party Utility
We’ve looked at various built-in methods and capabilities in Windows 10 for taking screenshots and how to take screenshots on Windows 11, 10, 8.1, 7 and XP.
These tools unquestionably offer a wealth of advantages and convenience but also drawbacks. Some users favor using third-party tools and software to get around these restrictions.
1. LightShot
To use this free software, users must first establish an account (a free account). This application allows users to annotate screenshots.
2. Nimbus Screenshot
This program can be downloaded for free and installed on Windows. Users of this application can capture a complete screen, a portion of a screen, or the entire webpage. Additionally, it offers intriguing tools for altering screenshots, recording movies, and enabling screenshot comments.
3. SnagIt
Techsmith provides Snagit. This program is well-known on the market and offers excellent potential for a high-quality screen capture of both audio and video content. It is compatible with Windows and Mac operating systems.
Conclusion
This article has covered specifics on how to screenshot various Windows versions.
When we compare taking a screenshot on Windows 11/10 to taking a screenshot on Windows 7 or Windows 8, we realize that the fundamental techniques and key combinations are the same regardless of the Windows version we use.
There are some differences between the features of image editing tools and their placement on the desktop, which largely depends on the version of the Windows operating system.